

Looking for pumpkin painting ideas you can actually picture on your table? Start with a sleepy face or loose dots, try an autumn leaf design, or make one bold band of checks. These 12 ideas use broad shapes and a restrained palette; none requires carving.
Each card includes a downloadable design image and painting steps. Six also include a printable motif guide. The images are AI-generated design visualizations, not photos of tested craft projects. Use them as a starting point and adapt the shapes to your pumpkin.
Easy pumpkin painting ideas
Choose one of these for fewer marks, bigger shapes or a design limited to the front. The first two are the simplest; arches and scallops need more brush control.
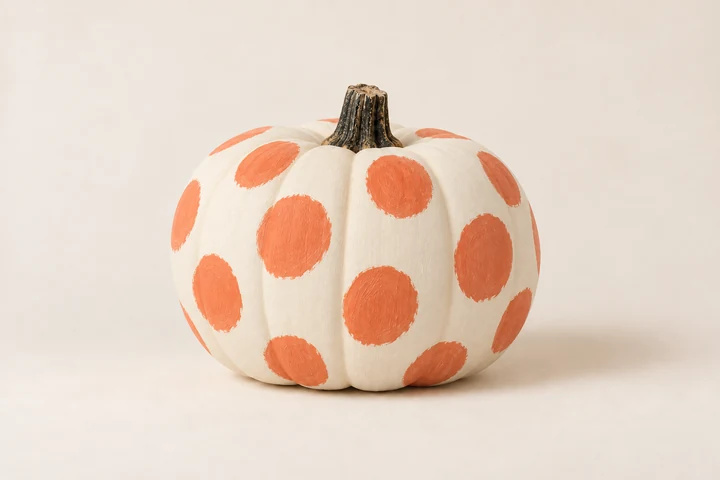
01. Orange confetti
Easiest start · cream and orange. Loose brush-dab circles are forgiving on an uneven pumpkin.
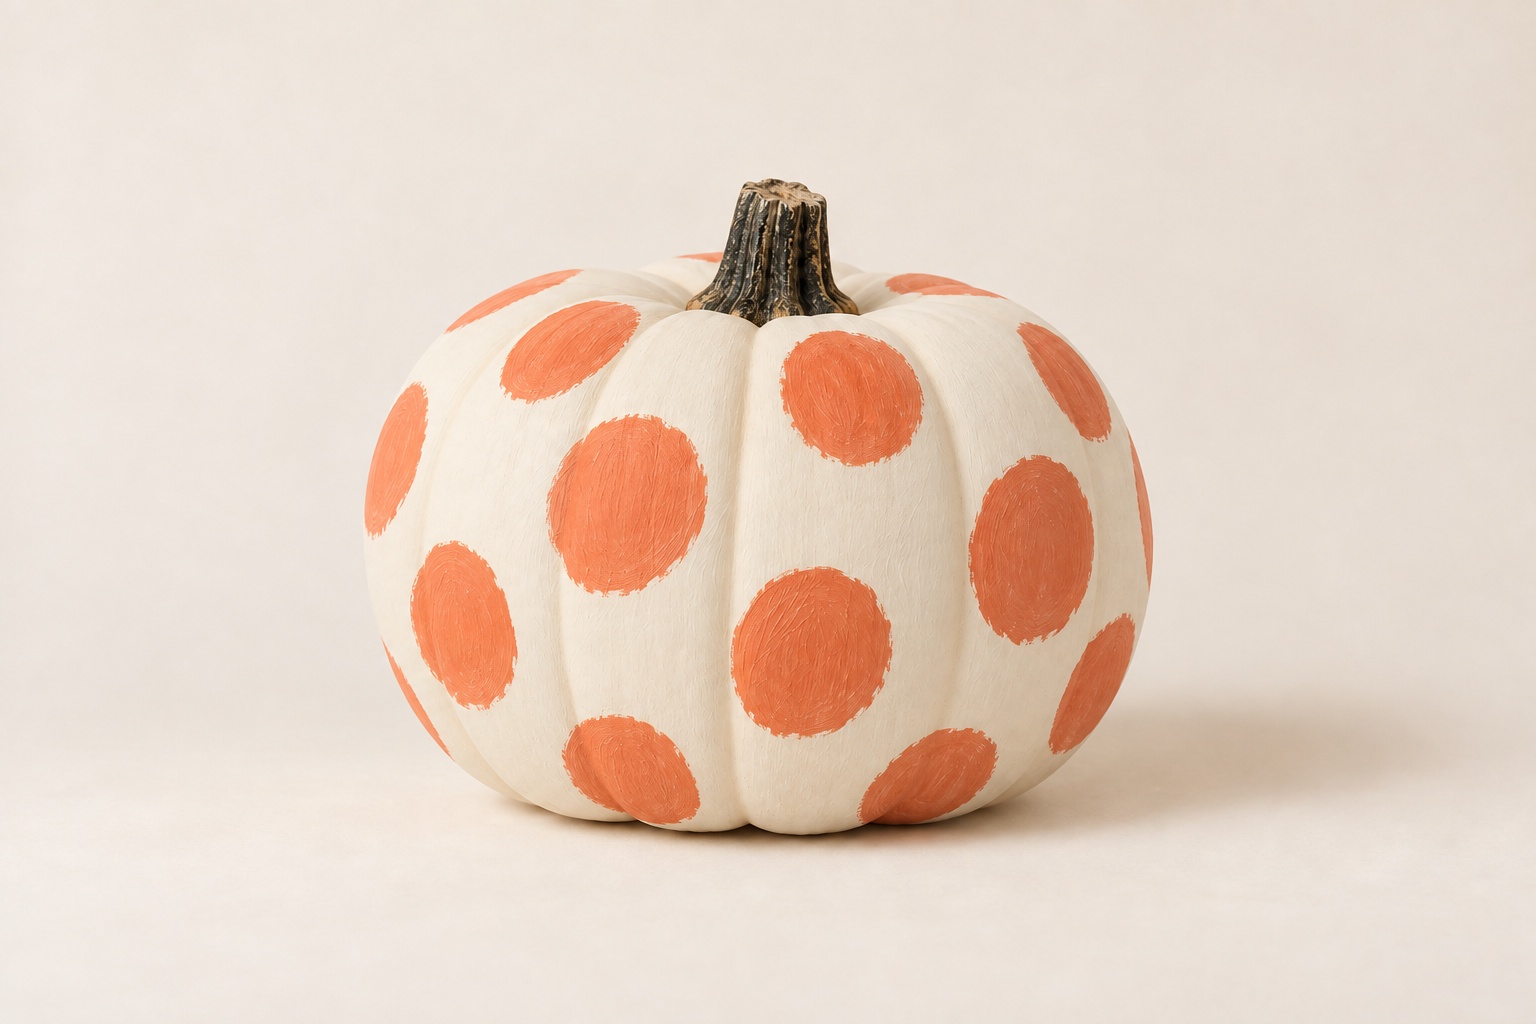
How to paint this design
- Paint a cream base and let it dry according to your paint label.
- Use a round brush or sponge dauber to add orange circles with generous gaps.
- Vary the dot sizes slightly. A paper circle guide can help you plan the spacing.
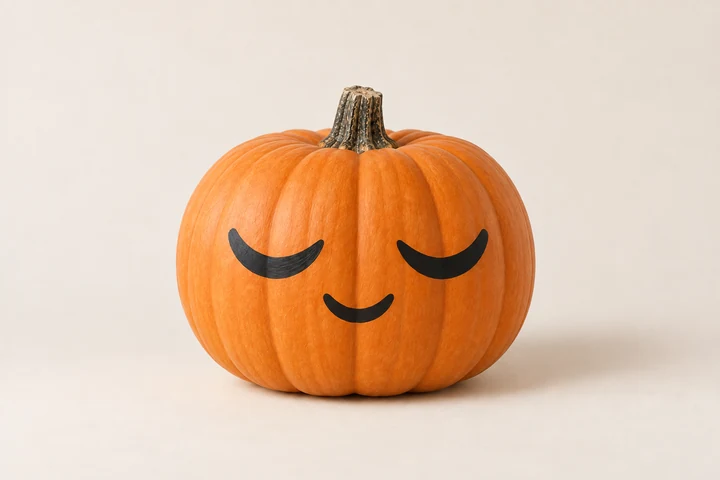
02. The sleepy pumpkin
Easiest start · black on natural orange. Three soft curves give a pumpkin a quiet expression.
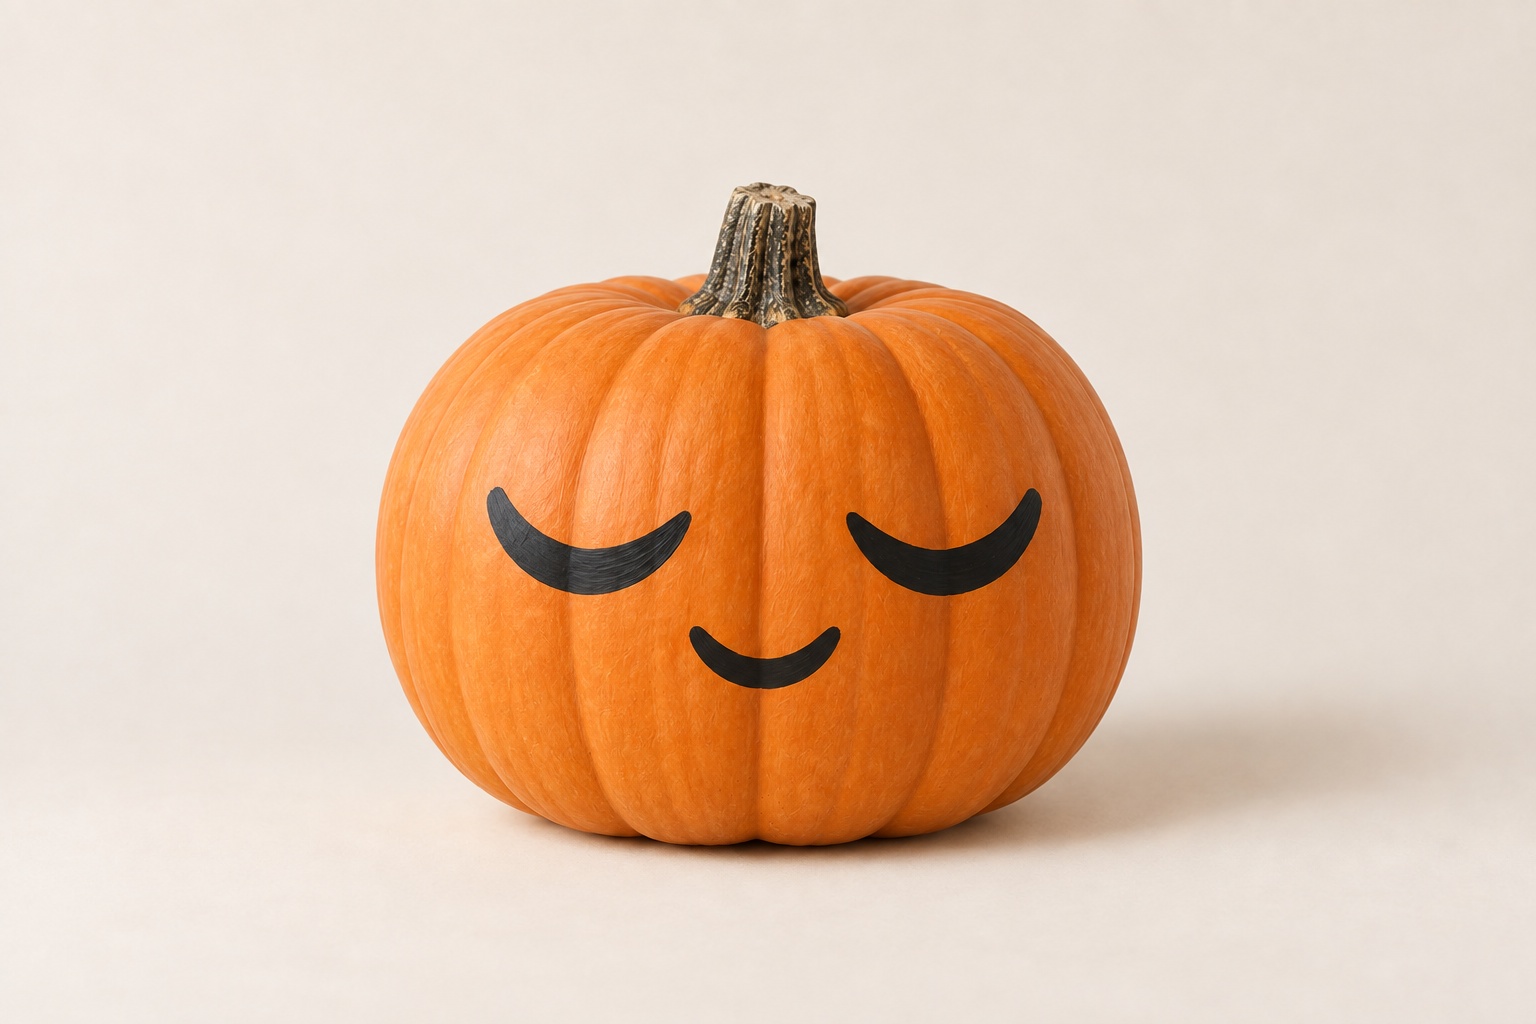
How to paint this design
- Choose a front-facing area with enough room between the lobes.
- Lightly sketch two closed-eye curves and a smaller smile; use the face guide if helpful.
- Follow the sketch with a small brush and black paint. Keep the rest of the pumpkin bare.
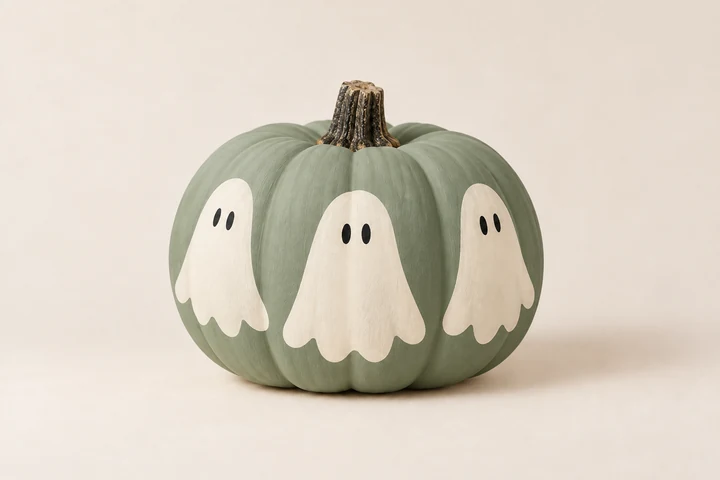
03. Little ghost gathering
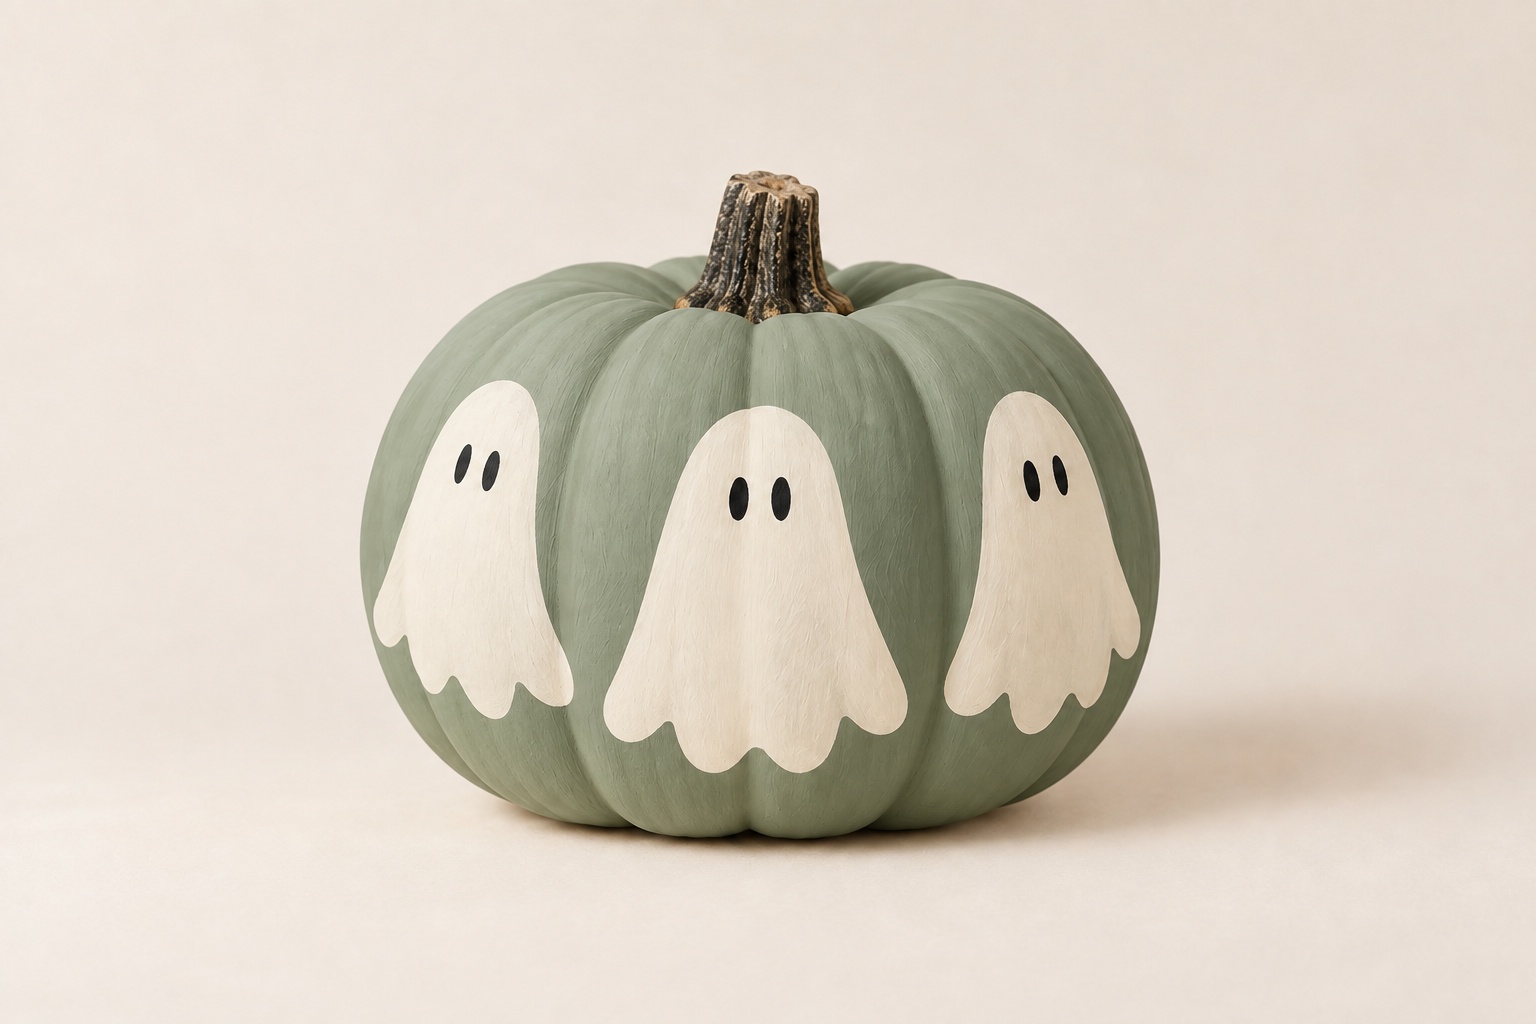
Simple shapes · sage, cream and black. A few large ghosts work better than a crowd of tiny ones.
How to paint this design
- Paint the pumpkin a muted sage green and allow the base to dry.
- Trace or sketch three rounded ghost shapes, leaving space between them; fill with cream.
- When dry, add two small black eyes to each ghost. Keep the lower edges loose and scalloped.
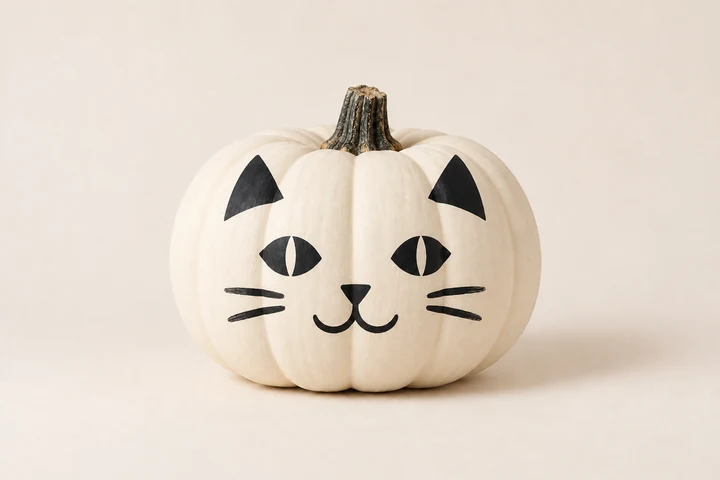
04. The cream cat
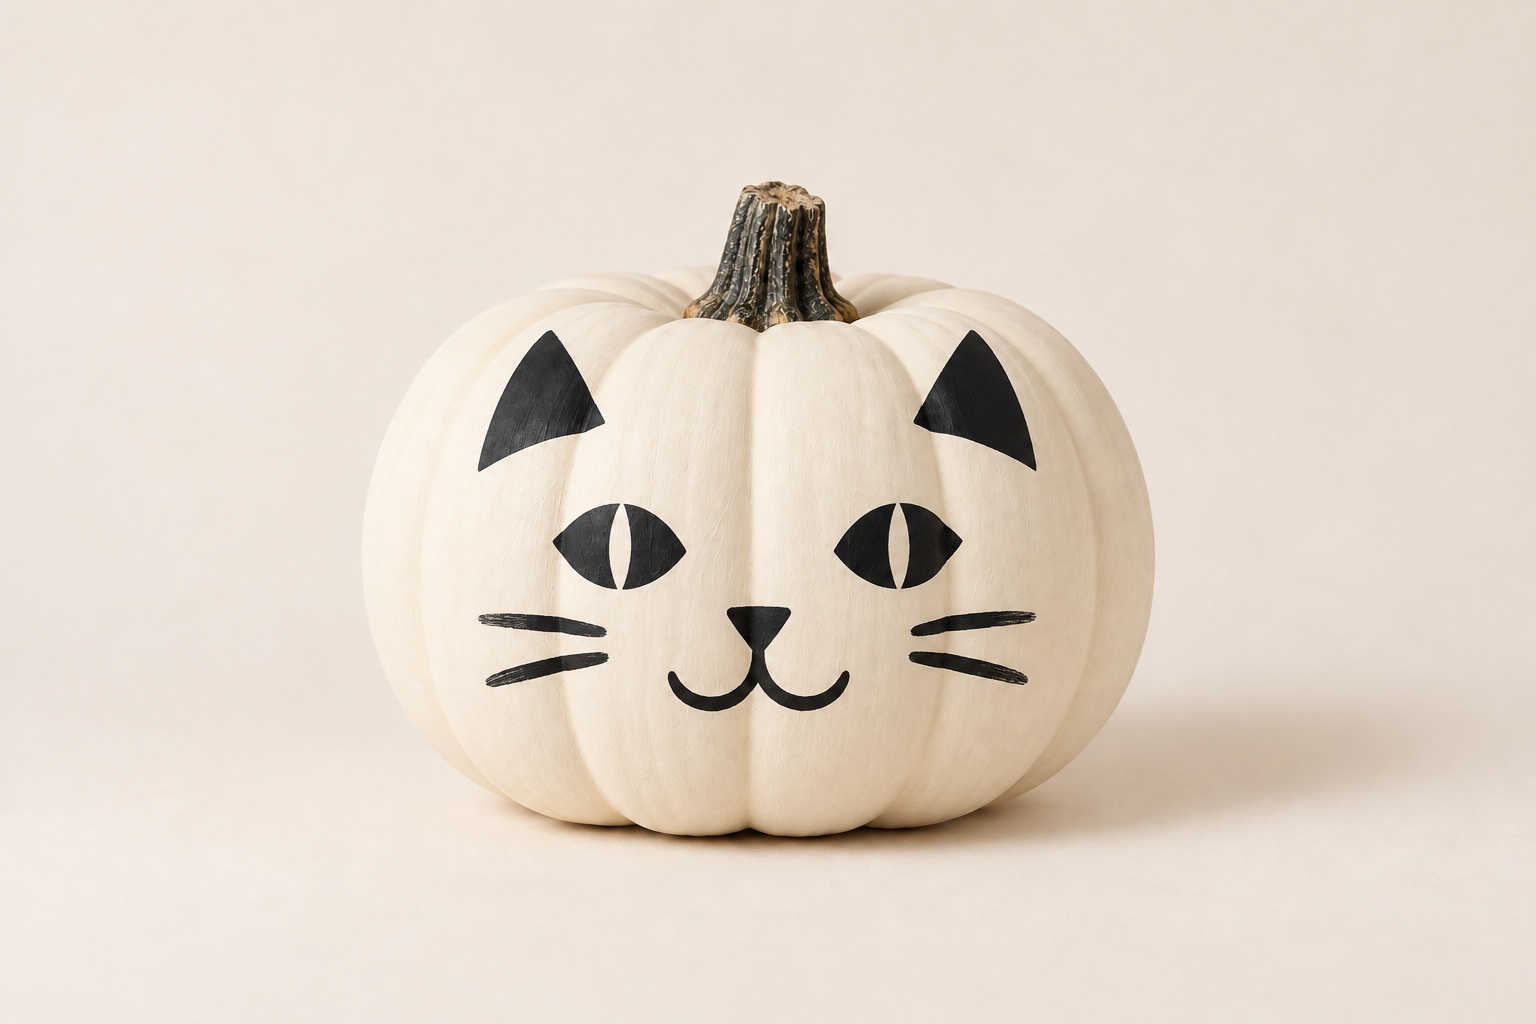
Simple face · cream and black. Painted triangular ears keep this project entirely on the pumpkin.
How to paint this design
- Paint a cream base, then sketch two triangle ears near the top of the front face.
- Place the almond-shaped eyes, nose and mouth between the ears and the widest part of the pumpkin. Leave a narrow cream slit inside each black eye.
- Add two whiskers on each side with a small brush. Trace the guide's features separately to fit the surface.
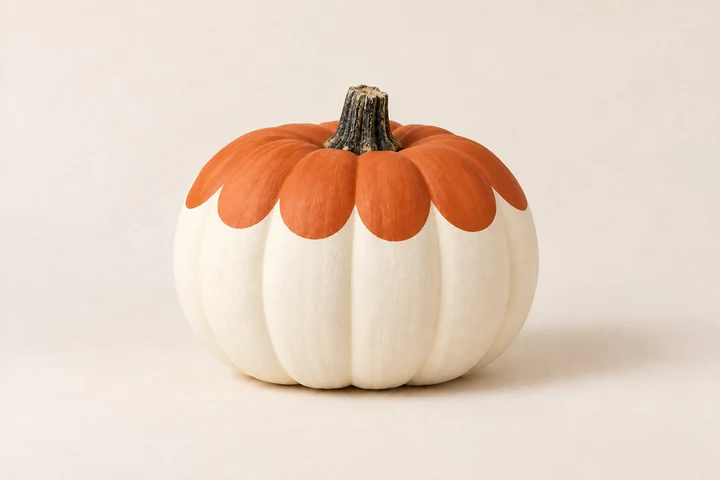
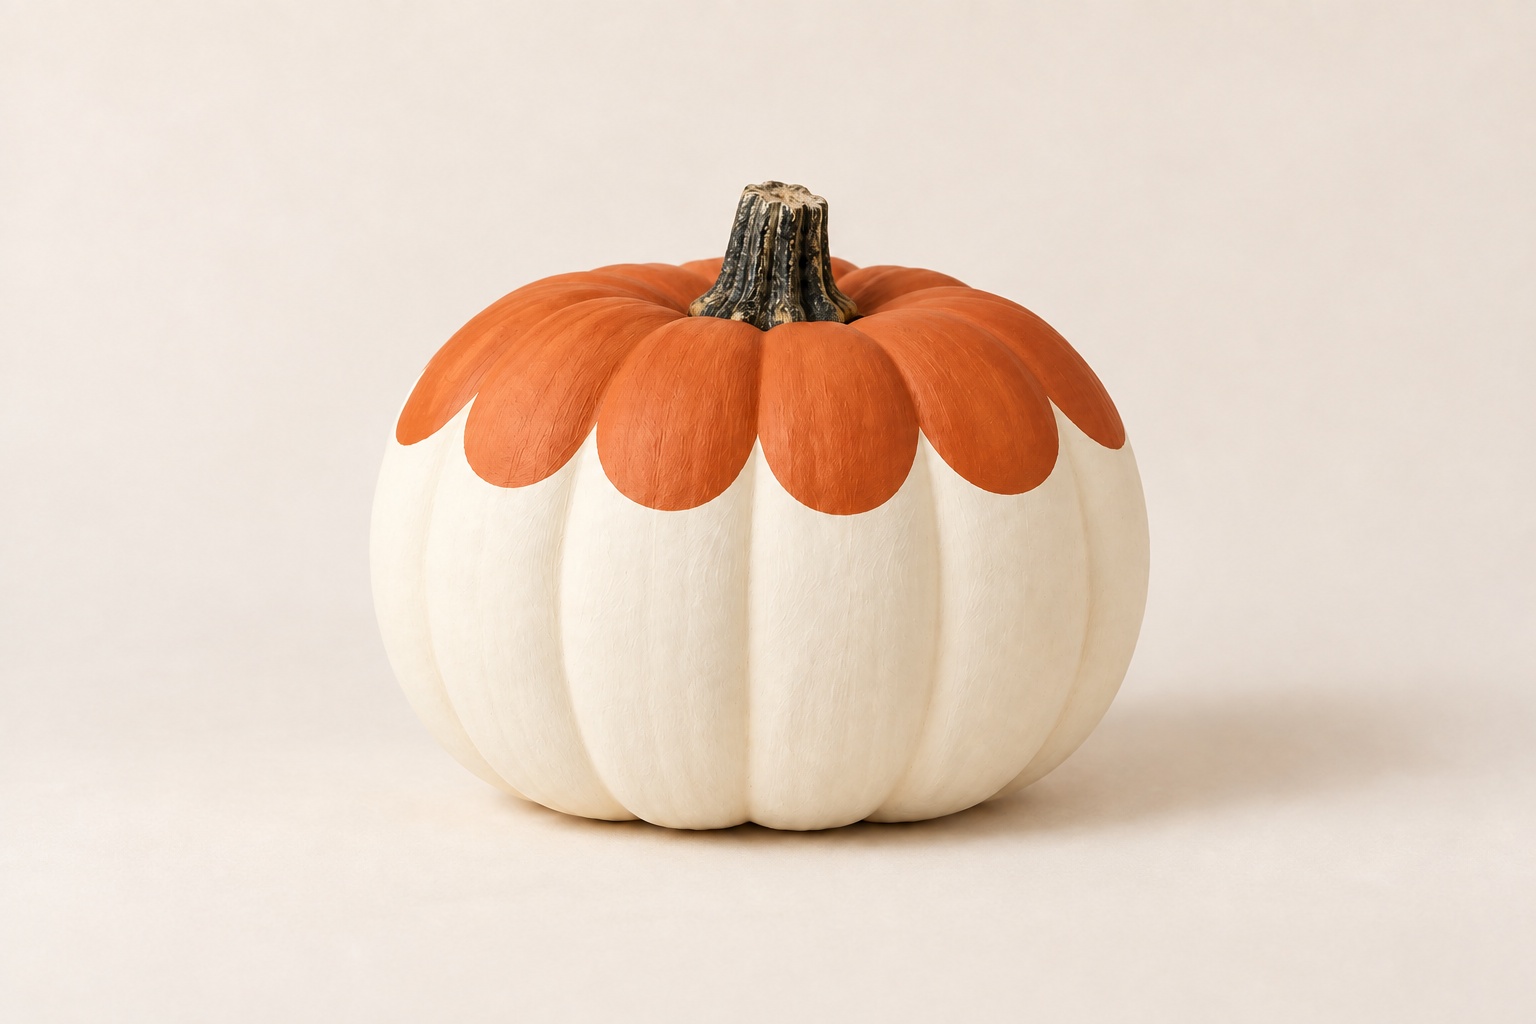
05. A scalloped collar
Brush practice · cream and orange. One decorative band keeps the rest of the pumpkin calm.
How to paint this design
- Paint a cream base and let it dry.
- Sketch a loose scalloped line around the upper third; use the pumpkin's lobes to space the curves.
- Fill from the line toward the stem in muted orange. Turn the pumpkin a little at a time.
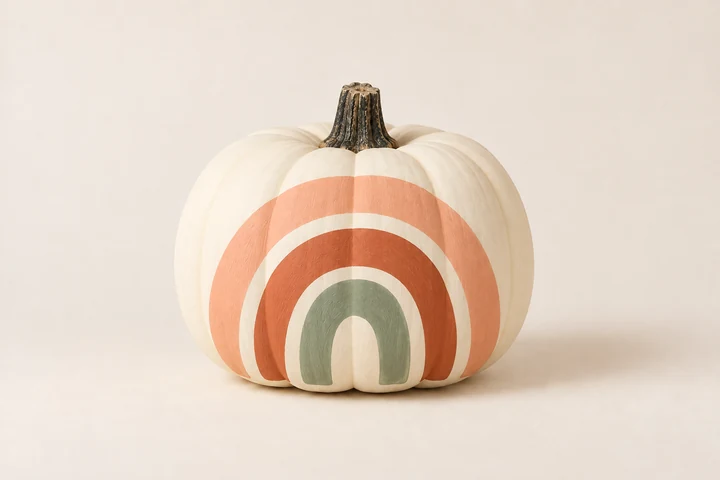
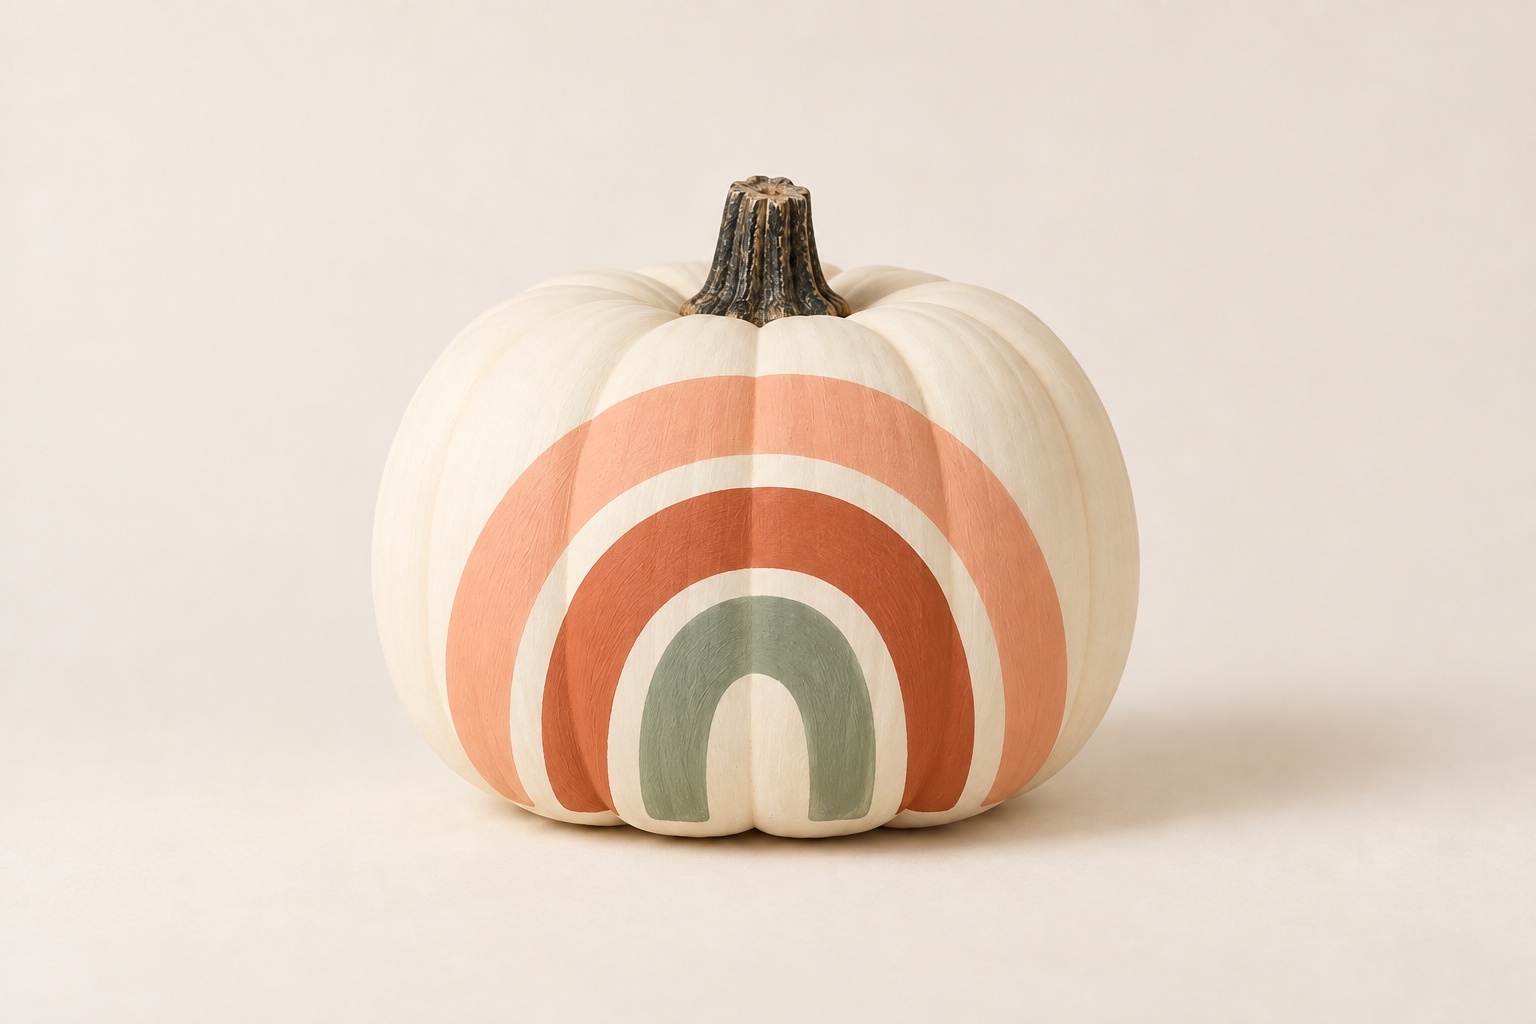
06. Three autumn arches
Broad curves · cream, peach, terracotta and sage. A small front-facing motif is easier than wrapping the whole pumpkin.
How to paint this design
- Paint a cream base, then lightly mark a rounded arch on the front.
- Paint the widest outer band first; allow it to dry before adding the next band.
- Add two smaller nested arches, keeping the line widths broad enough for your brush.
Autumn folk patterns
Cream, charcoal, terracotta and sage make a coordinated set without using the same pattern on every pumpkin. A few large motifs will be easier to see and paint than tiny all-over details.
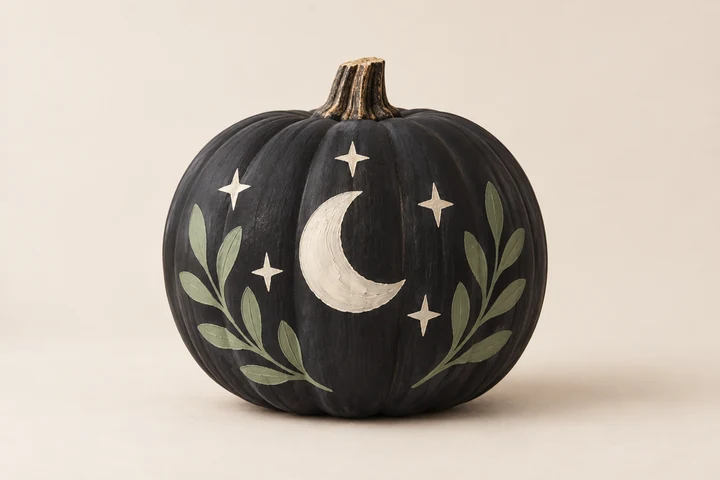
07. Moon and leaf sprigs
A little more detail · charcoal, cream and sage. Keep the crescent large so the design reads from a distance.
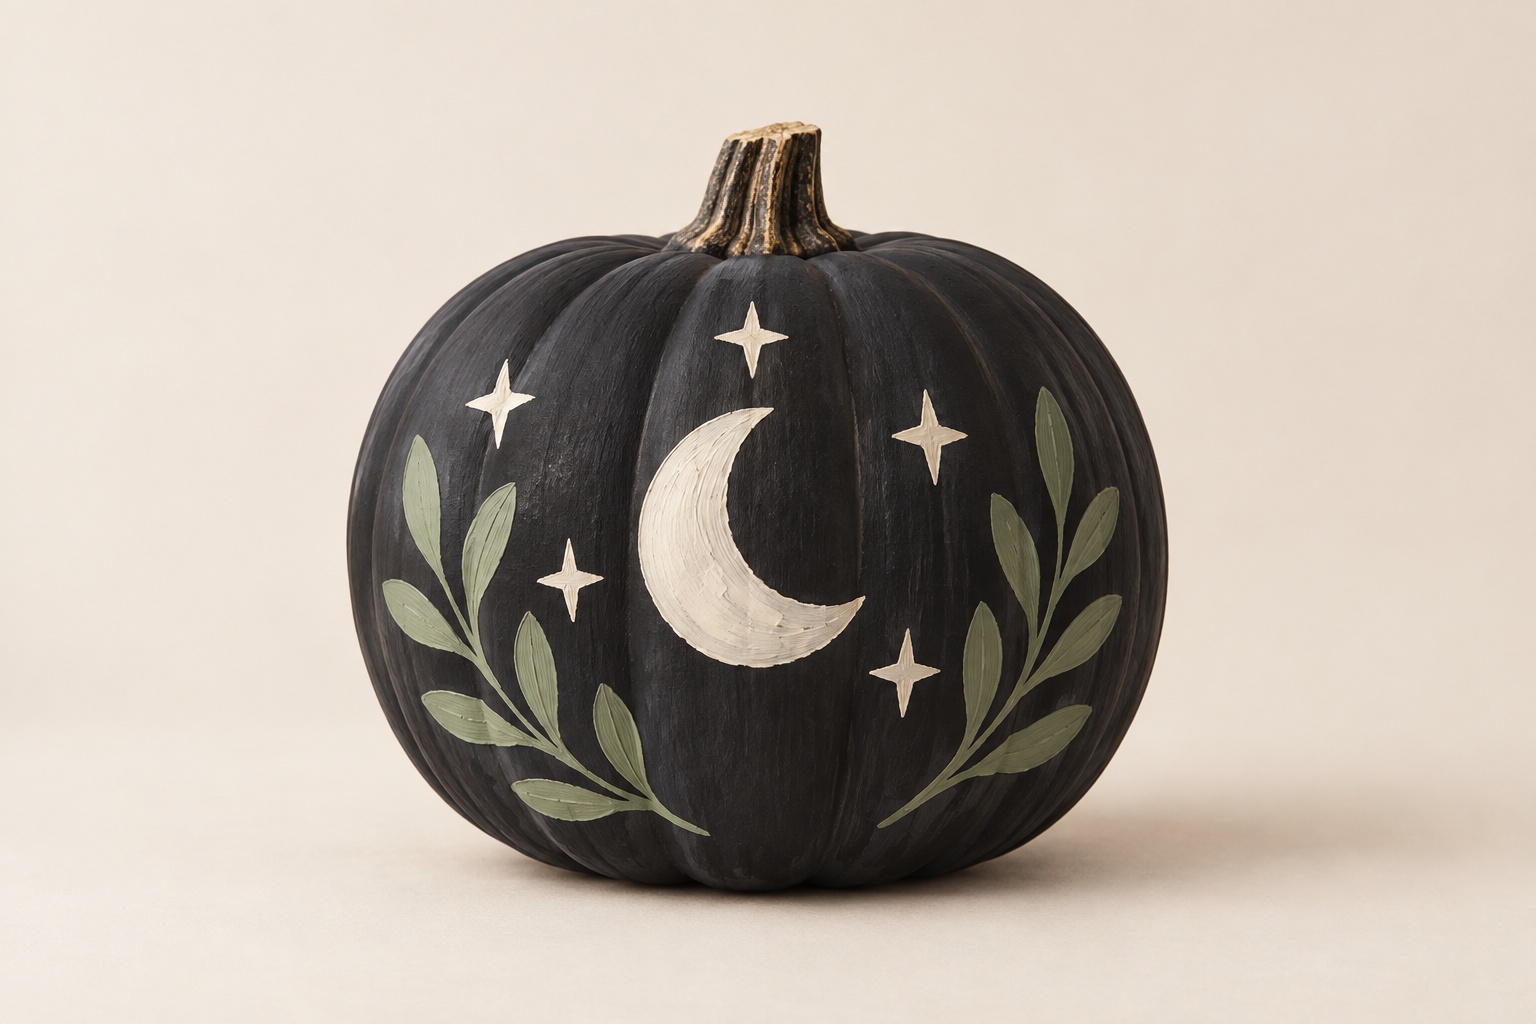
How to paint this design
- Paint a charcoal base and let it dry fully.
- Trace a crescent on the front, then add a few four-point stars in cream.
- Use a thin curved stroke for each sage stem, then press the brush into broad leaf shapes on either side.
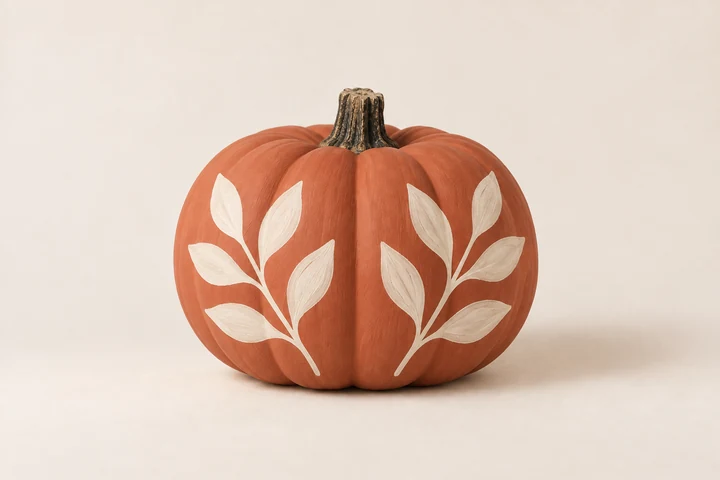
08. Ivory leaf sprigs
Organic brushwork · terracotta and ivory. Two branches leave breathing room around the stem.
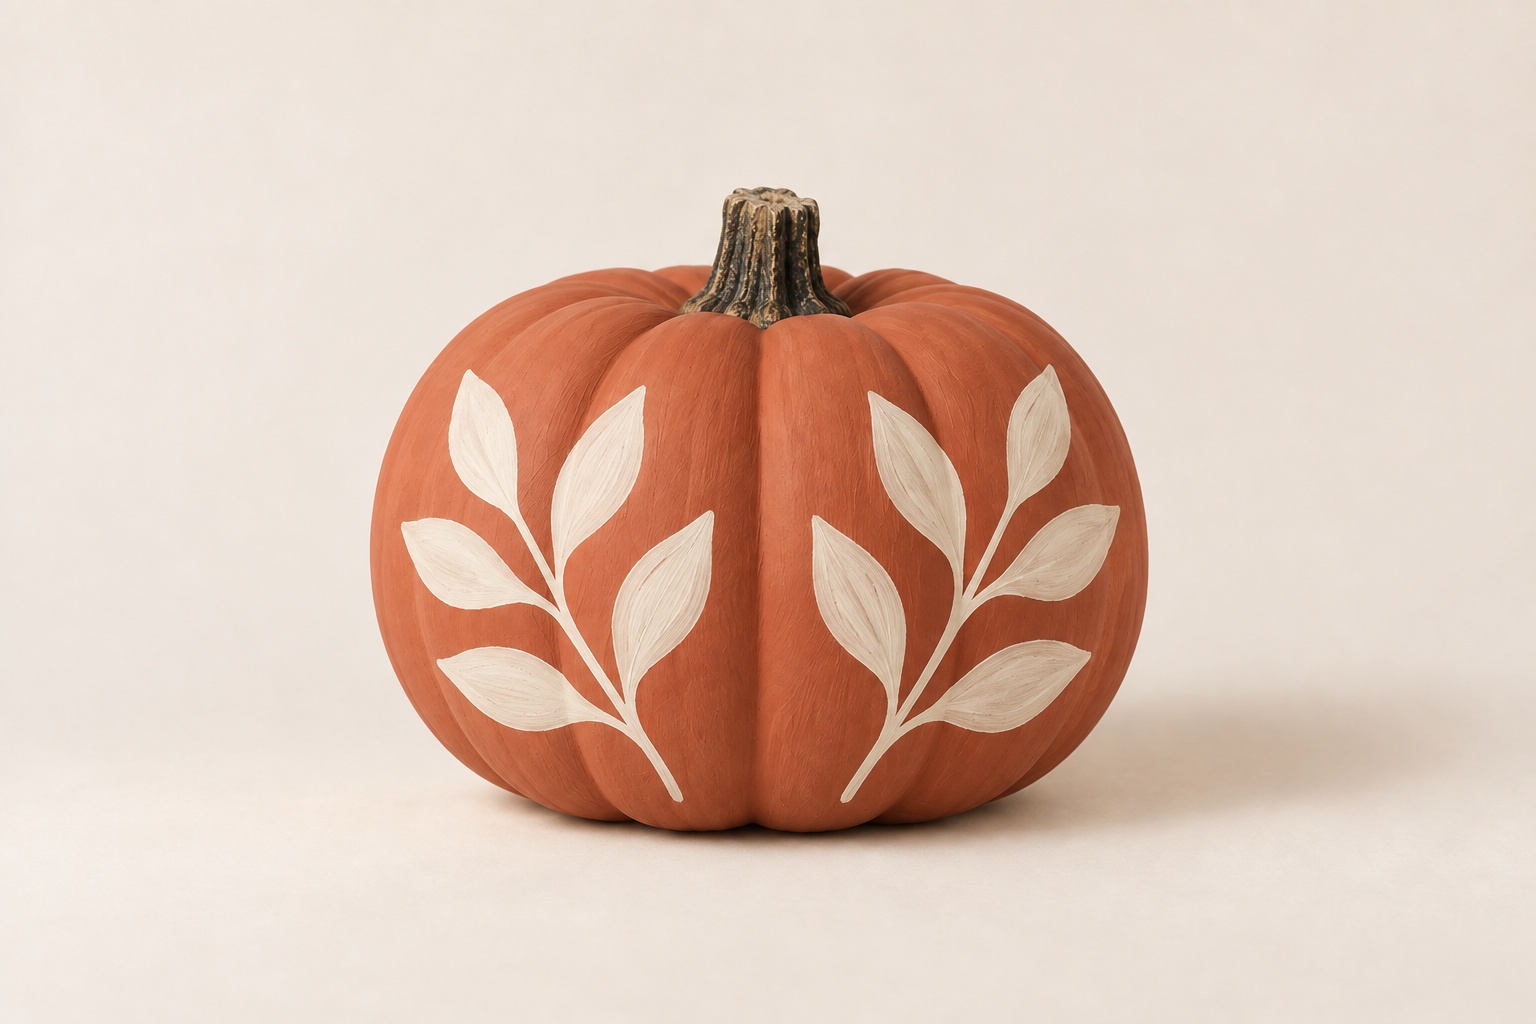
How to paint this design
- Paint a terracotta base and leave it to dry.
- Sketch two curved stems that rise from the lower sides toward the center.
- Paint each leaf with two short brush strokes meeting at a point. Leave the middle mostly open.
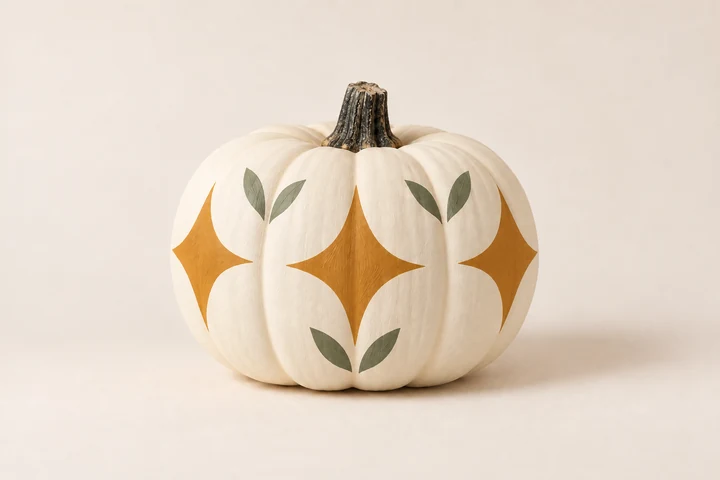
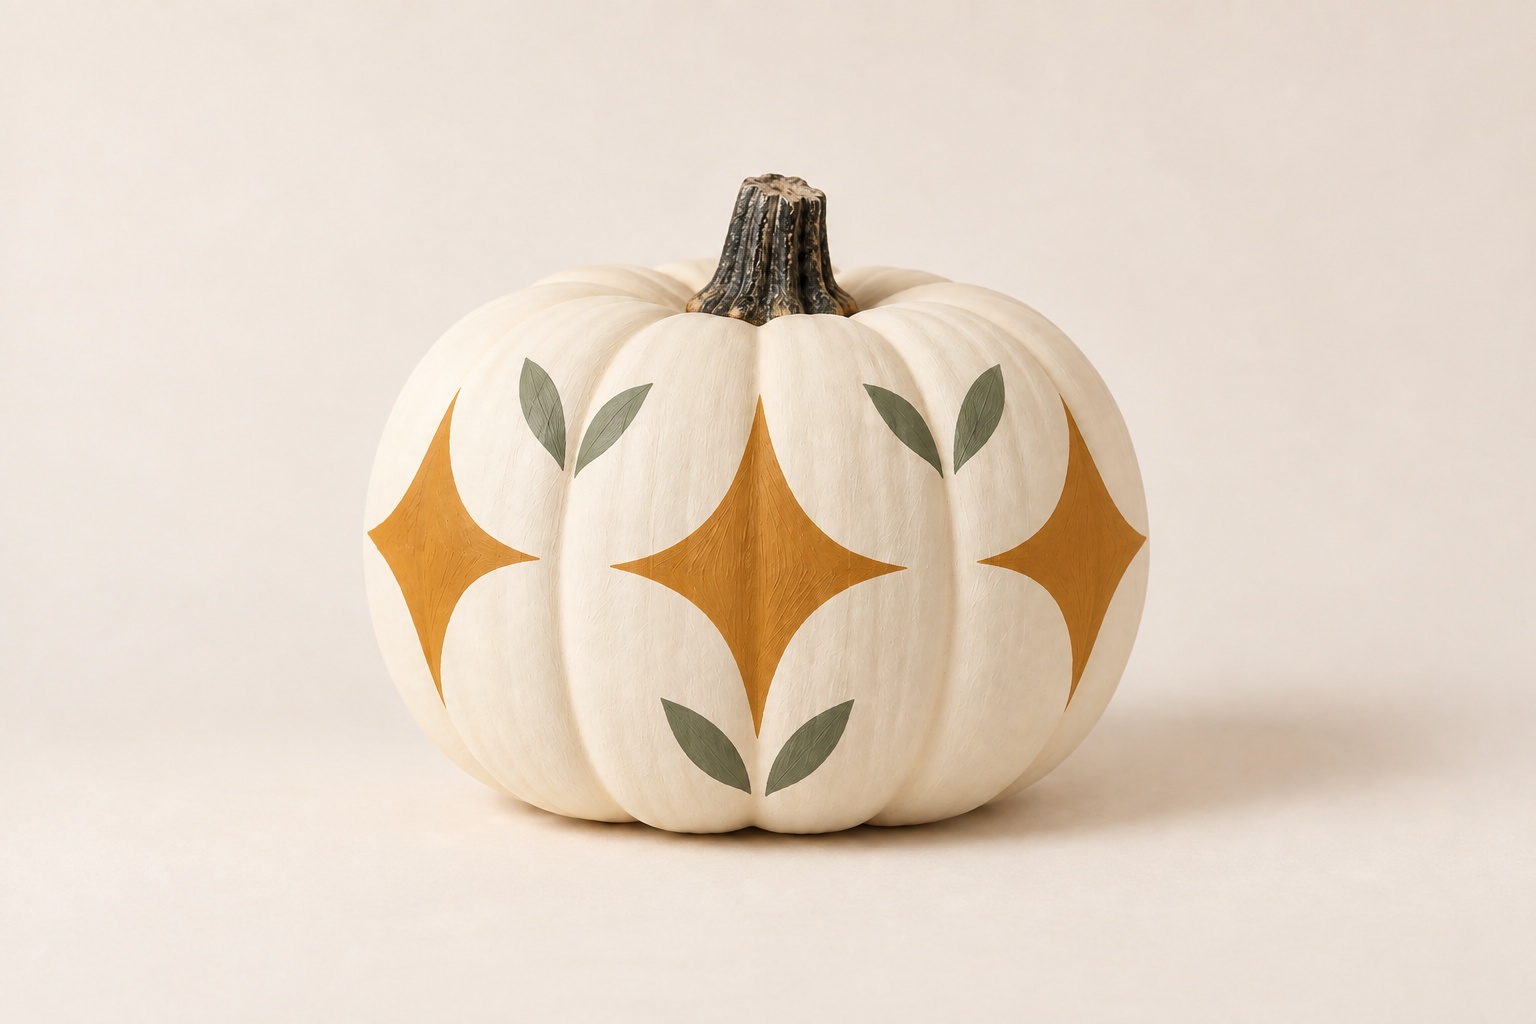
09. A little star garden
Small repeated motifs · cream, ochre and sage. Mix a few stars with pairs of leaves.
How to paint this design
- Paint a cream base and allow it to dry.
- Mark a small number of star positions first, then fill the stars in ochre.
- Add paired sage leaves in the gaps. Stop while plenty of cream remains visible.
Bold geometric pumpkins
Diamonds, stripes and checks work best when you keep the repeat large. Painting around a curved surface takes more care than painting one face, so begin at the front and work toward the back.
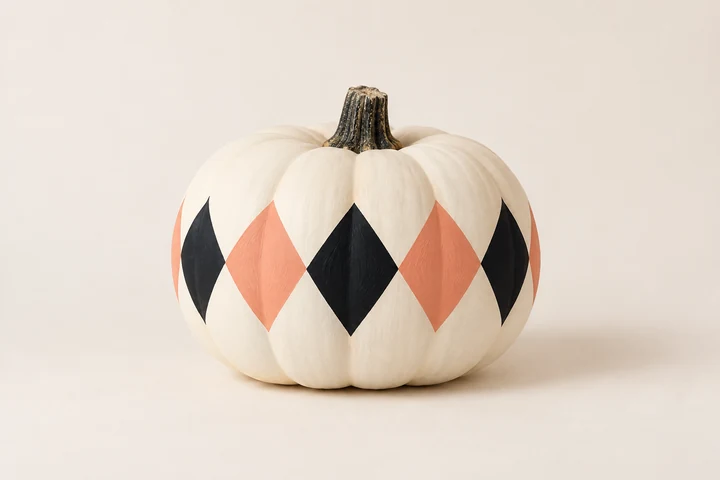
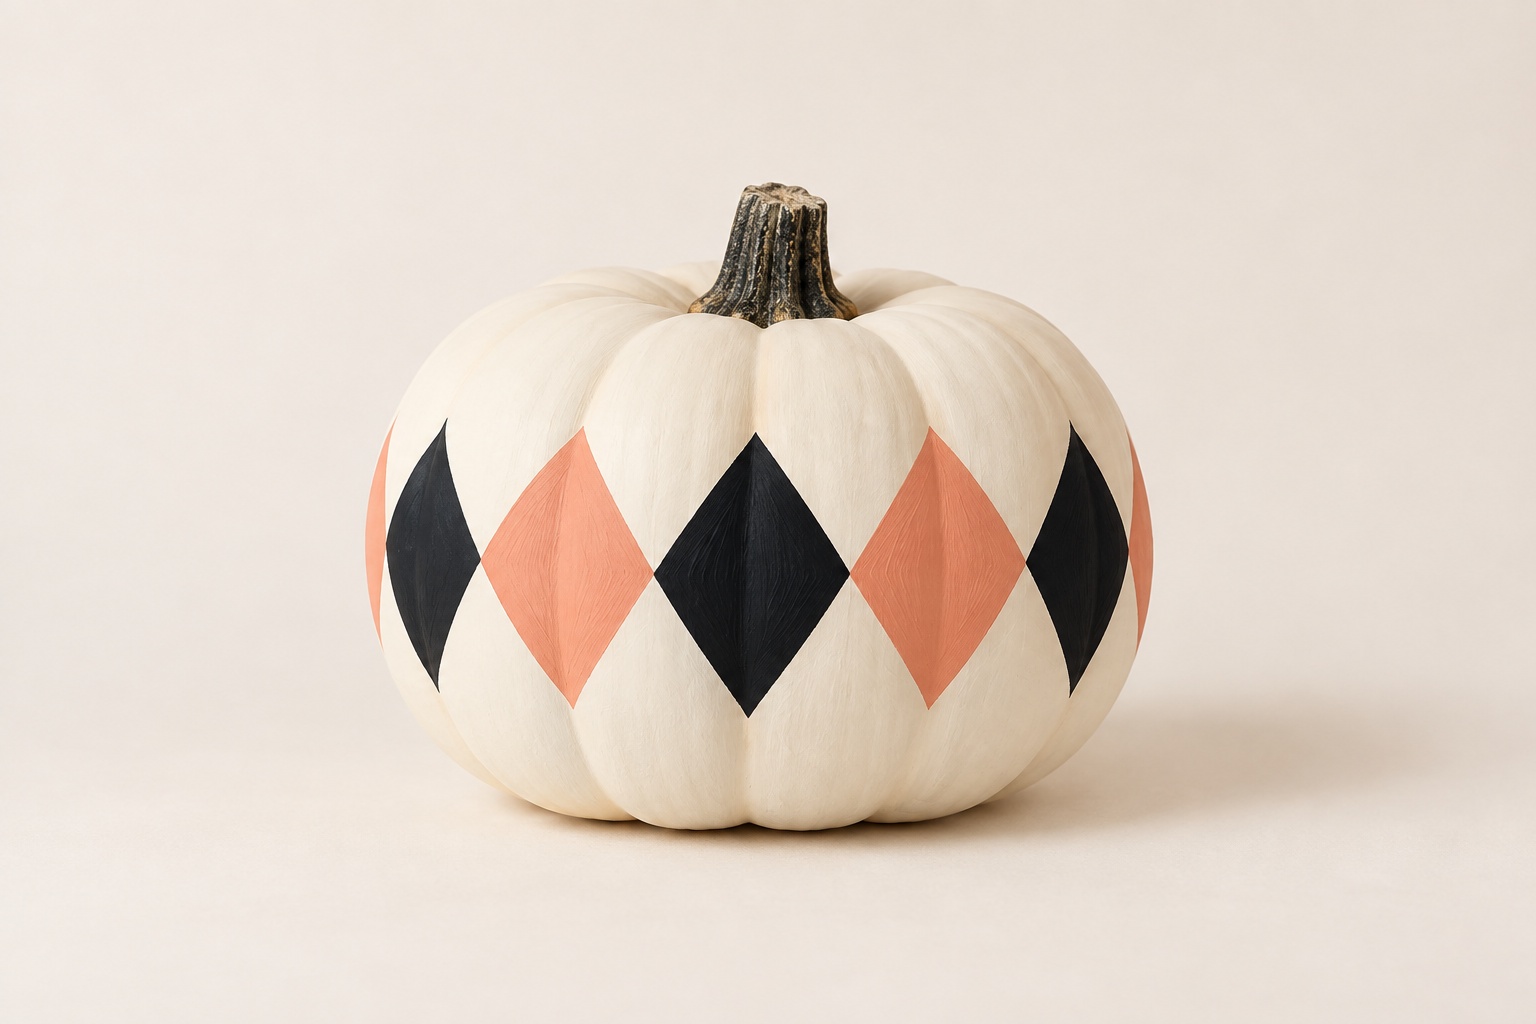
10. Peach harlequin band
Geometric · cream, black and peach. A single belt of diamonds is enough.
How to paint this design
- Paint a cream base and let it dry.
- Use the diamond motif guide to mark one belt around the middle. Adjust the last diamond to suit the curve.
- Fill alternating diamonds in black and peach, keeping the joins as simple as possible.
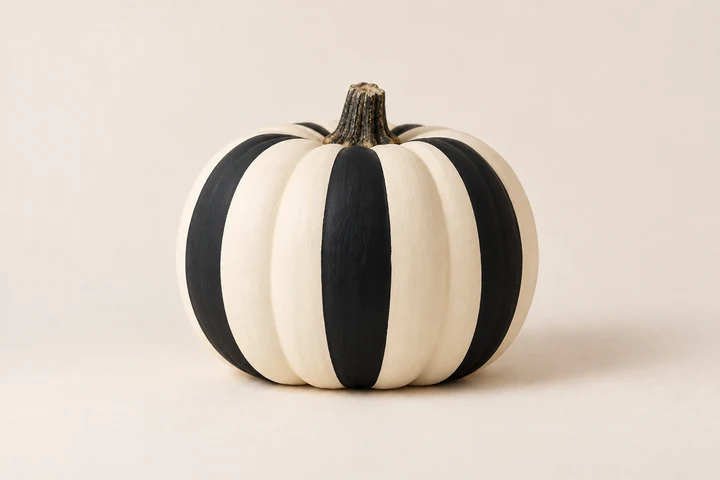
11. Bold black stripes
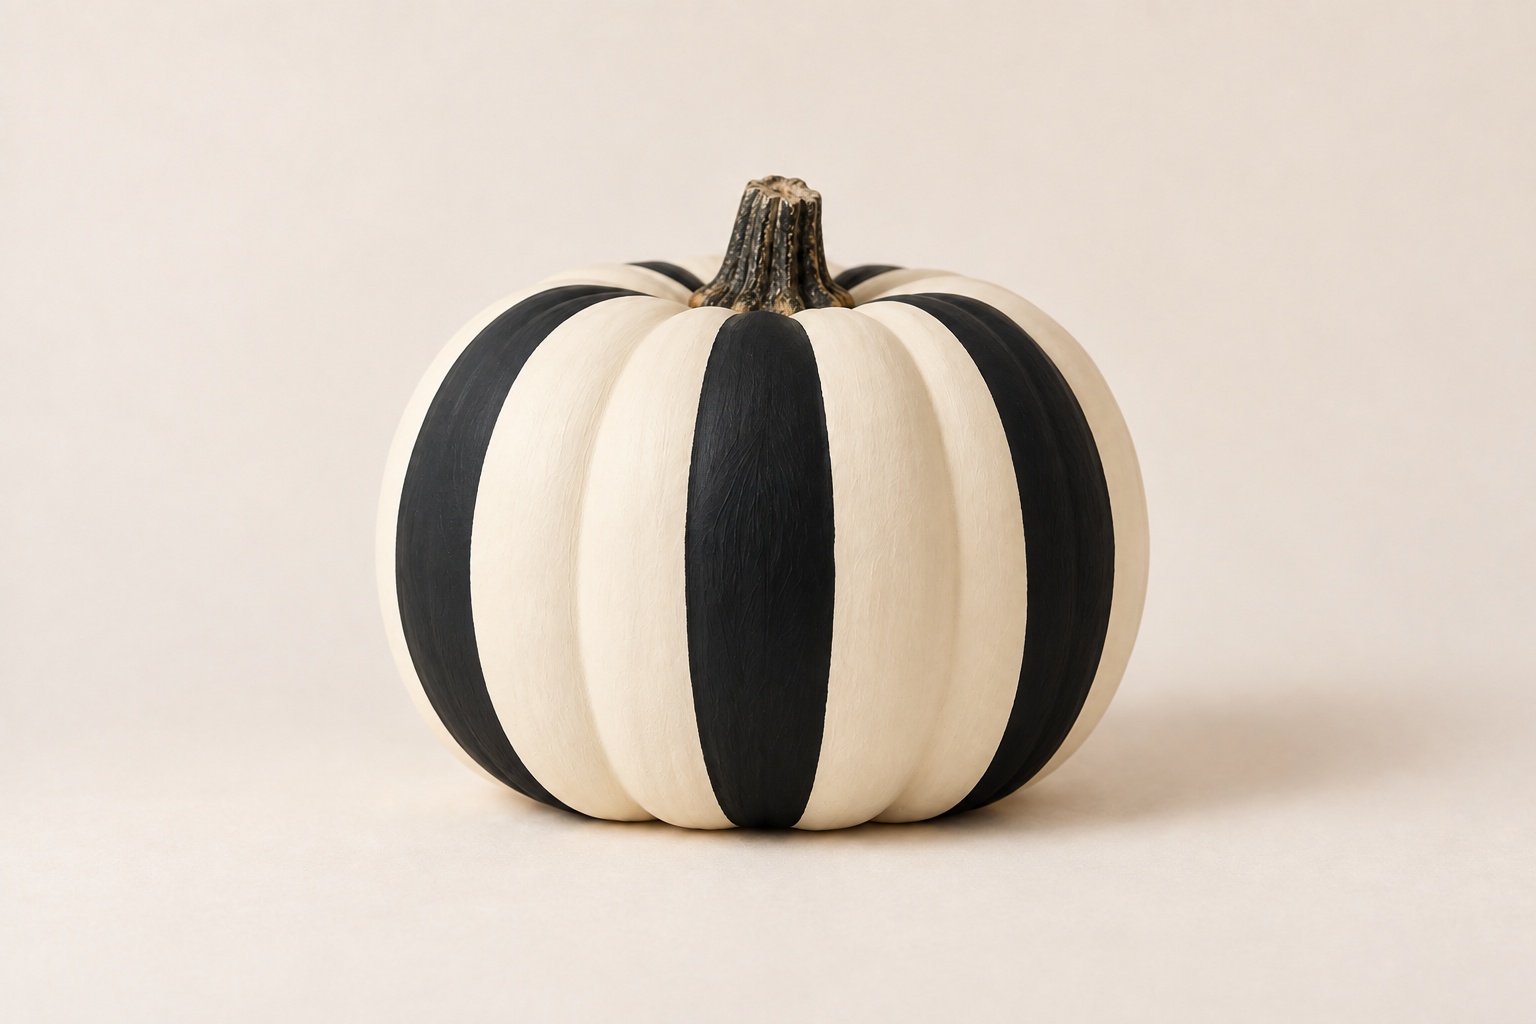
Geometric · cream and black. The pumpkin's own ribs provide a useful guide.
How to paint this design
- Paint a cream base, including the spaces between the lobes.
- Lightly mark every other broad lobe for a black stripe.
- Paint from below the stem toward the base with a flat brush. Let the ribs guide the edge rather than forcing ruler-straight lines.
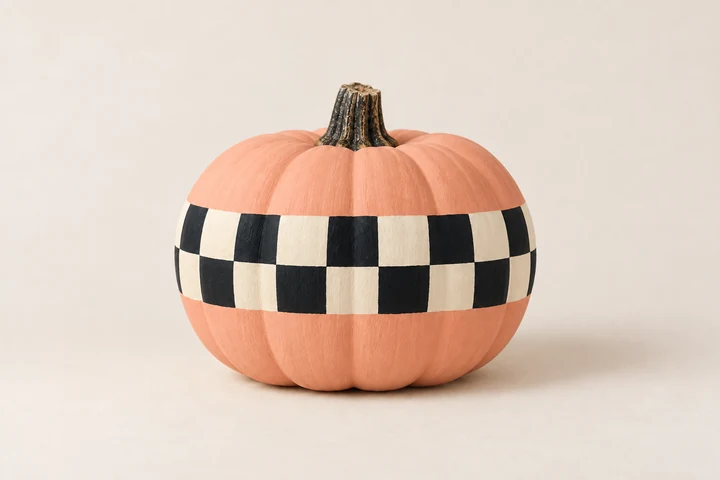
12. A peach checker belt
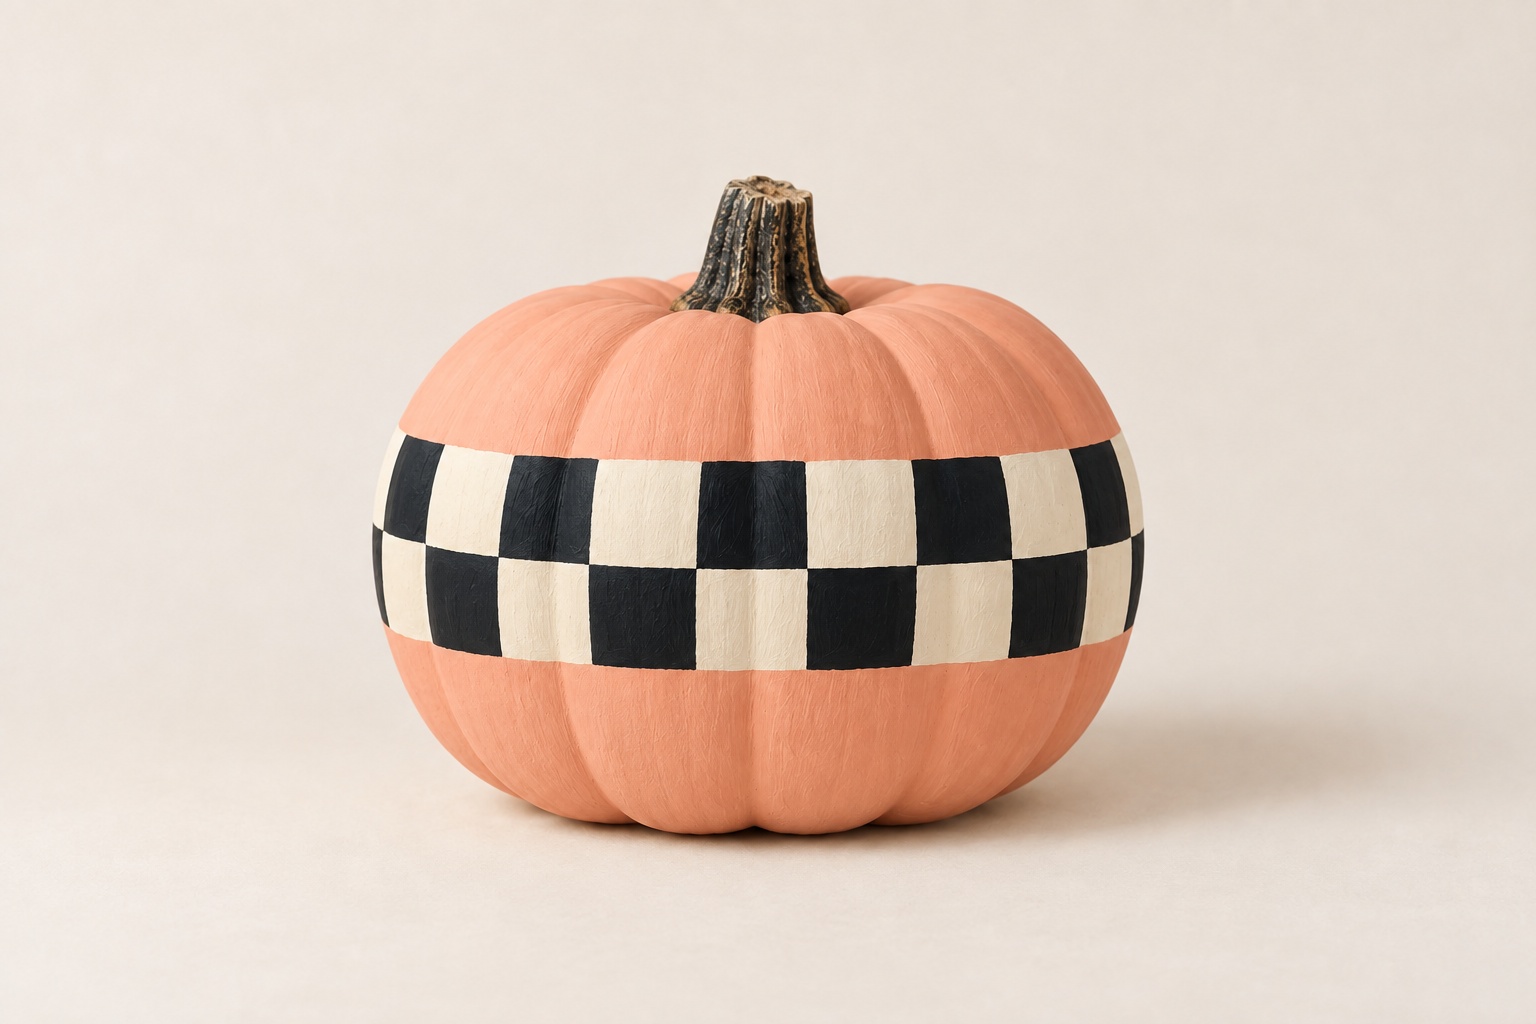
Most precise · peach, cream and black. Keep the checks large and the band only two rows high.
How to paint this design
- Paint a peach base and let it dry.
- Sketch a wide belt with two rows of large squares. Work in short sections around the curved surface.
- Paint the cream squares first, let them dry, then fill the alternating black squares. Keep the top and bottom peach.
Free printable pumpkin painting templates
The six guides contain dots, a sleepy face, ghosts, cat features, diamonds, and a moon with stars and leaves. Download one from its card, or get the complete six-page set:
These are motif guides, not full pumpkin wraps. Print at 100% to use the one-inch scale marker, or change the print scale until a motif fits the front of your pumpkin. Sketch the shapes lightly in pencil, or use tracing/transfer paper appropriate for your surface. Trace repeated dots or diamonds one at a time around the curve. Paint the solid shapes or follow the outlines, depending on your design.
Before you start painting
Gather an uncarved pumpkin, paint suitable for your chosen surface, a broad brush, a small detail brush, a pencil, a water container and table protection. For a group activity, set out two or three paint colors per design.
Clean and dry the pumpkin before painting. Hallmark's painted-pumpkin guide also starts with a clean pumpkin and uses acrylic craft paint. Follow your own paint manufacturer's surface, age, drying and ventilation instructions; a base coat or second coat may be needed depending on coverage.
Let a base color dry before adding another layer. Start with the largest shape, then add small features. If a line follows a rib awkwardly, move or simplify it. You are adapting a flat reference to an uneven surface, so small changes are expected.
We have checked the downloadable files, but have not physically painted these 12 designs or tested outdoor durability. Keep a small test area in mind before committing to a whole pumpkin, especially if you plan to display it outside.
The images and templates are free for personal and classroom use. Please share this page rather than selling or re-uploading the files. For a paper activity alongside painting, choose from our free Halloween coloring pages. Or take the same cozy autumn mood onto your screen with Halloween wallpapers.